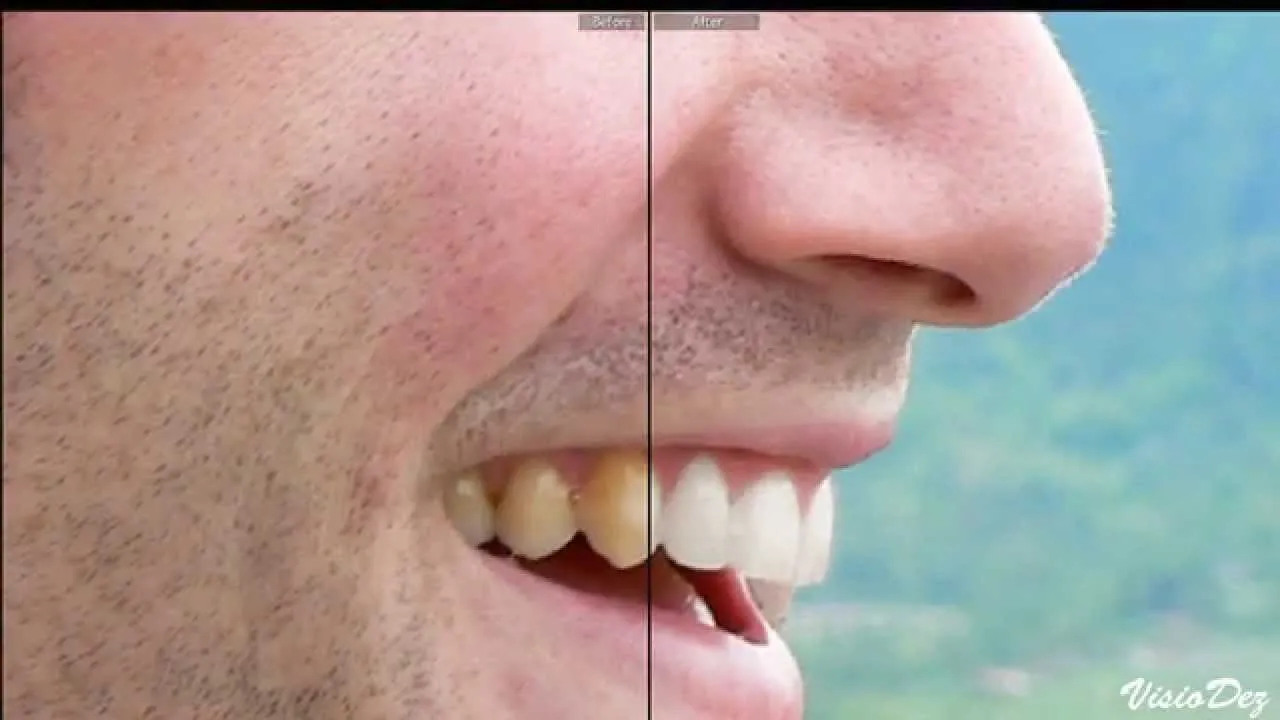
Do you want a brighter, more confident smile in your photos? Adobe Lightroom is a powerful tool that allows you to enhance your images, including teeth whitening. This tutorial will guide you through the simple steps to achieve instant teeth whitening using Lightroom. Whether you’re a beginner or have some experience, you’ll learn how to transform your photos and achieve professional-looking results. Get ready to enhance your portraits and make those smiles shine!
Understanding the Basics of Teeth Whitening in Lightroom
Before diving into the practical steps, let’s understand why teeth whitening is important and how Lightroom can help. A bright, white smile is often associated with youth, health, and attractiveness. Photo editing tools like Lightroom provide a convenient way to enhance your photos, improving the overall appearance of your subjects. Lightroom offers precise control over color and tone, making it an ideal choice for teeth whitening, giving you results that look natural and flattering.
The Importance of a Bright Smile
A bright smile is a powerful asset. It can boost self-esteem and make a positive first impression. In photography, teeth whitening can significantly improve the overall appeal of a portrait, making the subject look healthier and more vibrant. A subtle adjustment can dramatically enhance the photo and create a more polished look. This enhancement can have a positive impact on the viewer, increasing their engagement with your image.
Why Lightroom is a Great Tool for Teeth Whitening
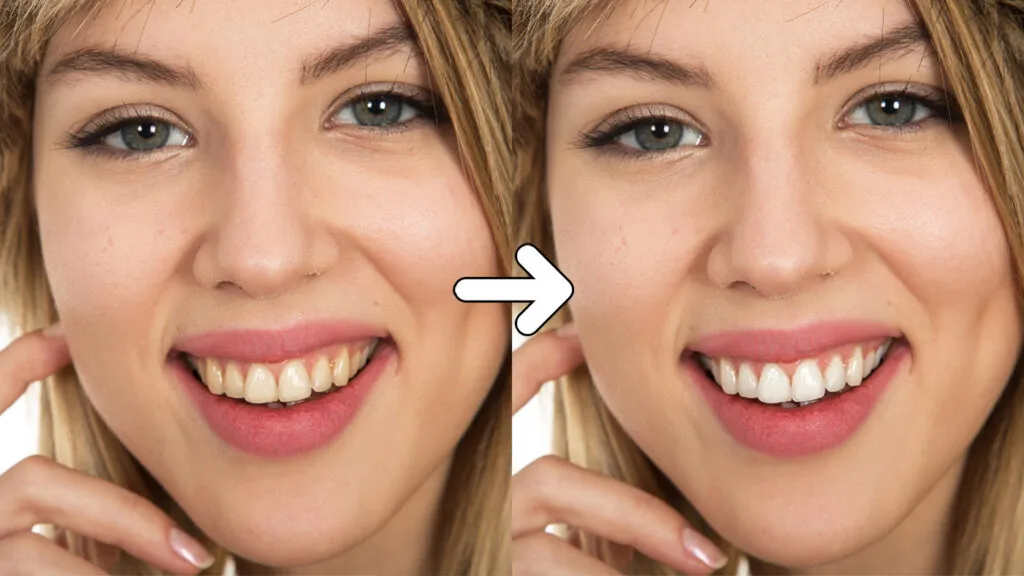
Lightroom’s non-destructive editing capabilities are one of the main reasons it is perfect for this task. This means that any adjustments you make do not permanently alter the original image, allowing you to experiment without fear of damaging the original file. Its intuitive interface, powerful adjustment tools, and ability to apply precise local adjustments make it ideal for whitening teeth. The adjustment brush and graduated filter tools are particularly useful for targeted enhancements.
Setting Up Your Photo for Teeth Whitening in Lightroom
The first step is to prepare your photo within Lightroom. You’ll need to import the image and make some initial adjustments to get started. Correcting basic aspects like exposure and white balance is necessary before moving to more specific adjustments like teeth whitening. These foundational adjustments can significantly improve the final outcome of the teeth whitening process.
Importing and Selecting Your Image
Open Lightroom and import the photo you wish to edit. Locate your image and import it into the Lightroom catalog. Once imported, select the image you want to work on. You will find many options for how you would like to import your picture, but the main thing is to get it into the program so you can begin the whitening process. Consider the photo’s overall composition and lighting before you start.
Using the Adjustment Brush Tool
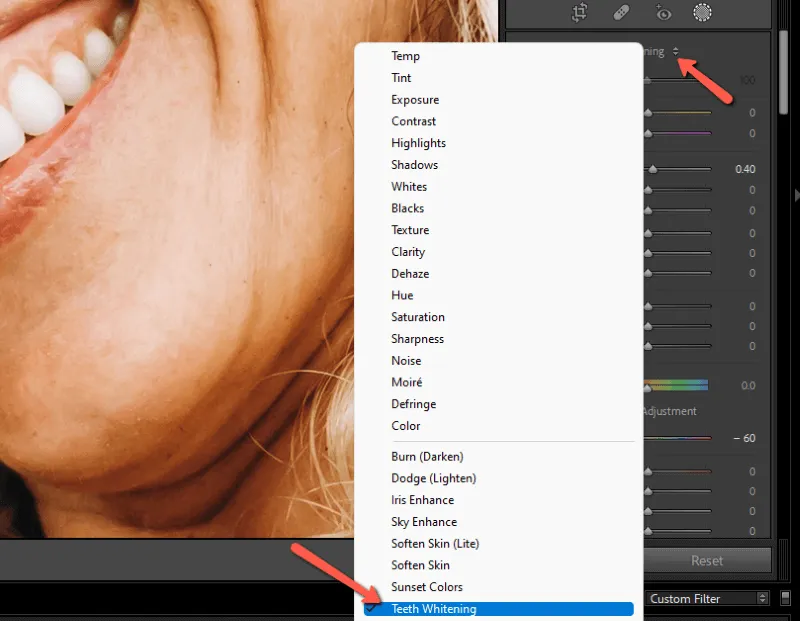
The Adjustment Brush is your primary tool for teeth whitening. In the Develop module, select the Adjustment Brush (represented by a brush icon). Click and drag over the teeth to apply the brush. Lightroom will show you the areas that are affected by the brush. You can adjust the size, feather, and flow of the brush to customize its application. This level of control ensures that you can apply the effect precisely without affecting other areas of the image. (image: adjustment-brush-tool.webp)
Adjusting Exposure, Contrast, and Whites
After selecting the Adjustment Brush, start with small adjustments. Lower the exposure slightly to compensate for any initial brightness, and carefully raise the whites. Increasing the whites can make the teeth appear brighter. Be cautious not to overdo it; the goal is a natural look. Fine-tune the contrast to add subtle definition to the teeth. Adjusting these sliders will give you a great base to start with. It’s all about the subtle touches to get the best results, so take your time.
Fine-Tuning Your Teeth Whitening Process
Once you’ve established the basic adjustments, it’s time to refine the color and saturation. The goal here is to make the teeth look natural, not artificial. Removing stains and other imperfections is also critical for a polished result.
Adjusting the Color and Saturation of the Teeth

Reduce the saturation of the teeth. This is crucial for removing yellowing and making them appear whiter. Carefully lower the yellow saturation slider until the teeth reach the desired shade. Adjust the hue slider, if necessary, to ensure a natural color. By carefully adjusting the saturation, you can control the level of whiteness in the teeth and achieve the perfect look. (image: color-saturation-slider.webp)
Adding a Touch of Vibrance and Clarity
After adjusting color, consider adding a touch of vibrance and clarity. Increasing vibrance will enhance the color without oversaturating the image, and increasing clarity will sharpen the teeth. These adjustments can add a subtle and natural look. Adjust these settings in moderation, as too much will make the image look unnatural. The right balance is key to making the photo look great.
Removing Stains and Imperfections
Use the Adjustment Brush to target any specific stains or imperfections. Reduce exposure and saturation in these areas. This will help remove any discoloration. You can also use the Spot Removal tool for smaller blemishes. These small adjustments will make a big difference. Be careful and take your time when using the Spot Removal tool. Make sure to zoom in and pay attention to the details.
Advanced Techniques for Professional Results
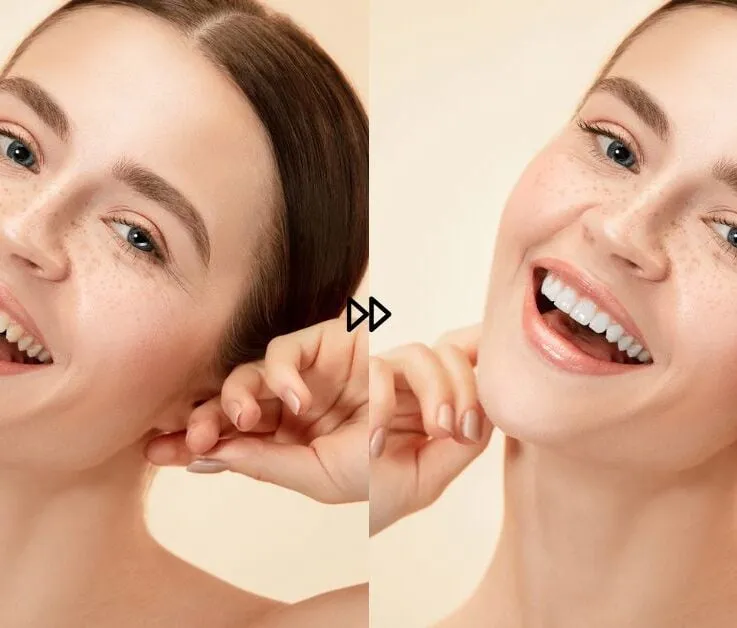
For the most professional-looking results, consider using additional tools like the Graduated Filter and Local Adjustments. These can help you refine your work and add subtle enhancements to create a flawless result.
Using the Graduated Filter for Subtle Adjustments
The Graduated Filter is great for subtle enhancements. Apply it to the upper and lower teeth. Adjust the exposure, whites, and saturation. This tool allows for precise control over gradients in the image, helping to enhance the teeth while keeping the effect natural. By using these techniques, you can make sure that the colors blend well together, creating an excellent result. (image: graduated-filter-lightroom.webp)
Applying Local Adjustments with Precision
Make precise local adjustments for the best results. This method allows for very fine-tuning and perfect results. Zoom in on the image to see the details. The more detailed the edit is, the better the outcome. The Adjustment Brush and Graduated Filter are useful for achieving this. Fine adjustments will greatly improve the outcome of your work. (image: local-adjustment-lightroom.webp)
Comparing Before and After
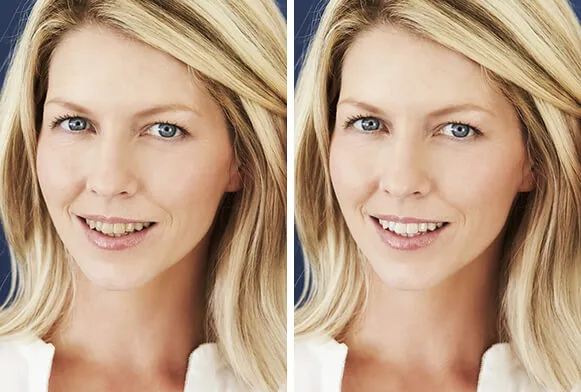
Use the Before and After view in Lightroom to assess your progress. This allows you to see the changes you’ve made. It will also help you make adjustments and prevent over-editing. This is a great way to ensure that the edits are subtle and natural. Make sure that you like the results. (image: before-after-teeth-whitening.webp)
Exporting Your Whitened Photo
Once you are satisfied with the results, it’s time to export your photo. Choosing the right export settings will ensure that your image looks its best when shared online or printed.
Choosing the Right Export Settings
When exporting your photo, choose the appropriate settings for its intended use. For online sharing, a JPEG format with a quality setting of 70-80% is usually sufficient. For print, consider a higher quality JPEG or TIFF format. Adjust the image size and resolution based on the destination. Always choose the right settings to ensure that the image looks great when shared. (image: export-settings-lightroom.webp)
Saving and Sharing Your Photo
Save your exported image and share it with confidence. Your enhanced photos are now ready to be shared with the world. Consider using social media or sharing platforms for the best outcome. Enjoy the compliments and the brighter smiles!
By following these steps, you can easily whiten teeth in Lightroom and achieve a more confident smile in your photos. Remember to practice and experiment to find the settings that work best for your images. With a little practice, you’ll be able to transform your photos and enhance your subjects’ smiles. Enjoy the process and happy editing!
