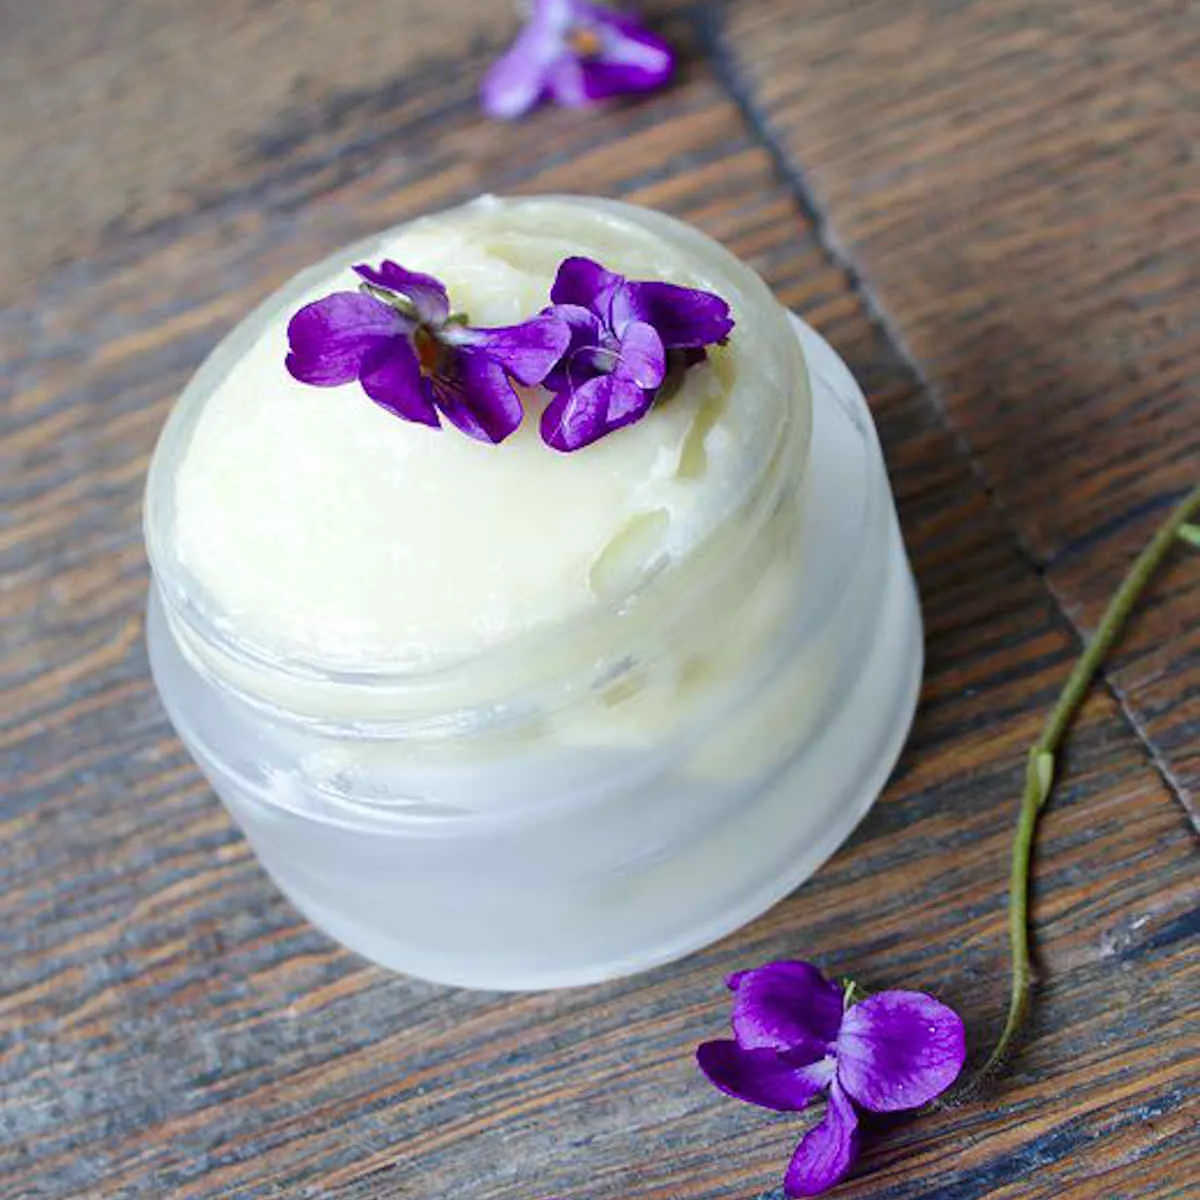
What is Whitening Body Butter
Whitening body butter is a luxurious and effective skincare product designed to brighten and even out skin tone. Unlike harsh chemical treatments, homemade whitening body butter uses natural ingredients to gently lighten hyperpigmentation, reduce dark spots, and promote a more radiant complexion. It’s a blend of nourishing butters, oils, and sometimes essential oils, working together to moisturize and hydrate the skin while addressing discoloration issues. This DIY approach allows you to control the ingredients, avoiding unwanted chemicals and tailoring the product to your specific skin needs. By understanding the benefits and how to make your own, you can unlock the secret to a glowing, even-toned skin naturally.
Benefits of Whitening Body Butter
The benefits of using whitening body butter extend beyond just skin lightening. Firstly, it provides deep moisturization, essential for healthy and supple skin. Secondly, the natural ingredients often have anti-inflammatory and antioxidant properties, which can soothe irritated skin and protect against environmental damage. Regular use can help reduce the appearance of scars, stretch marks, and other blemishes, contributing to overall skin health. Furthermore, the act of making your own body butter allows you to avoid potentially harmful chemicals found in commercial products, making it a safer choice for sensitive skin. It can also boost your confidence, knowing that you are using a product made with natural and beneficial ingredients.
Ingredients You’ll Need

To make effective whitening body butter, gather these primary ingredients. First, shea butter forms the base, known for its moisturizing and skin-healing properties. Next, coconut oil is included for its hydrating qualities and the presence of fatty acids to help with skin nourishment. Finally, essential oils contribute to the whitening effects and aroma. Common choices include lemon, which contains vitamin C and provides a brightening effect. These ingredients work synergistically to create a potent yet gentle formula for skin brightening. The correct blend of these ingredients will help you on your quest to achieve a glowing skin.
Shea Butter
Shea butter is the heart of any good body butter, including those made for whitening purposes. It is extracted from the nuts of the shea tree and is rich in vitamins A, E, and F, providing essential nutrients for skin health. Its thick texture offers superior moisturization, creating a protective barrier on the skin’s surface. The emollient properties of shea butter help to soothe and soften the skin, making it a great base for the incorporation of other ingredients. Its ability to reduce inflammation makes it excellent for addressing skin conditions and promoting an even skin tone. Make sure you source pure, unrefined shea butter for the best results, as this preserves the full spectrum of its beneficial properties.
Coconut Oil
Coconut oil is another essential ingredient in whitening body butter, contributing hydration and additional benefits. It’s easily absorbed, making it ideal for moisturizing the skin, preventing dryness, and promoting a smooth texture. Furthermore, coconut oil contains medium-chain triglycerides (MCTs) that have antibacterial and antifungal properties, which can help maintain skin health and prevent infections. The antioxidants in coconut oil protect the skin against free radical damage, contributing to a more youthful appearance. Incorporating coconut oil helps enhance the overall effectiveness of the whitening body butter, leading to better results and a healthier skin. Use high-quality, virgin coconut oil to maximize its advantages.
Essential Oils

Essential oils can enhance the whitening body butter, both in terms of its effects and sensory experience. Lemon oil is a popular choice for its skin-brightening abilities, thanks to its vitamin C content. Other oils, such as tea tree, offer antiseptic properties that can help in addressing skin issues. When using essential oils, always exercise caution; start with a low concentration to prevent irritation. Essential oils not only add functionality but also an aroma which helps to improve the experience. Carefully selected essential oils can boost the effectiveness of your whitening body butter, helping you achieve the results you desire while adding a pleasant fragrance.
Making Your Body Butter Step-by-Step
Creating whitening body butter at home is a simple, rewarding process. It requires only a few basic steps and readily available ingredients. The main goal is to combine the beneficial ingredients and achieve a smooth, consistent texture that’s easy to apply. Taking care at each stage—melting, blending, and cooling—is key to getting a high-quality product. By following the instructions closely, you can create a body butter that is effective and tailored to your specific skin needs. This hands-on process allows you to control the ingredients and ensure the product aligns with your values and skincare goals, guaranteeing a product that’s as effective as it is enjoyable to use.
Melting the Ingredients
The first step in making whitening body butter involves melting your chosen ingredients. Place shea butter and coconut oil in a double boiler or a heat-safe bowl set over a pot of simmering water. Heat the mixture gently, stirring occasionally, until everything has completely melted. This method ensures that the ingredients melt evenly without burning. Once the butters and oils are melted, you can remove them from the heat and allow them to cool slightly before adding the essential oils. This process is crucial for creating a smooth texture, ensuring that all components are combined properly. This step sets the stage for a perfectly blended, effective body butter.
Blending the Mixture

After melting, blending the ingredients is critical to ensure they are well-combined. Using a hand mixer or a stand mixer, blend the melted oils and butters until the mixture becomes smooth and creamy. If you are adding essential oils, do it once the mixture has cooled down, usually to around room temperature. This step helps integrate the essential oils without affecting their properties. Continue mixing until the body butter appears whipped and has a light consistency, as this will also enhance its absorption. This step also allows you to ensure the even distribution of the beneficial ingredients that are key to the whitening effects.
Cooling and Whipping
Once the ingredients are blended, cooling and whipping the mixture is essential to create the desired texture. Place the mixture in the refrigerator for 15-20 minutes to allow it to cool and start to solidify. After cooling, take the mixture out and whip it again with a hand mixer or stand mixer for a few minutes. This additional whipping incorporates air, making the body butter light and fluffy. The process ensures a smooth, spreadable consistency that’s pleasant to apply. Repeat the cooling and whipping process a couple of times until the body butter reaches the desired consistency, that is both soft and firm enough to hold its shape. These steps are fundamental in creating a luxurious and enjoyable product.
Storing Your Whitening Body Butter
Proper storage is vital to preserve the quality and extend the shelf life of your whitening body butter. Store it in an airtight container, preferably in a cool, dark place away from direct sunlight and heat. Direct exposure to heat can melt the butter, altering its consistency and potentially reducing its effectiveness. A well-sealed container prevents air exposure, which can cause oxidation and degradation of the ingredients. Properly stored body butter can last several months, ensuring that you can enjoy its benefits over time. Maintaining the integrity of the body butter through careful storage allows you to benefit from its whitening and moisturizing properties.
Tips for Usage

To get the most out of your whitening body butter, incorporate it into your daily skincare routine. The best time to apply it is after showering or bathing, when the skin is still slightly damp. This helps lock in moisture, enhancing the hydrating effects of the butter. Focus on areas prone to dryness, such as elbows, knees, and heels, as well as areas with uneven skin tone, like the underarms. Apply a generous amount and massage it into your skin using circular motions. Consistent use is key to seeing the desired results, which usually become visible over several weeks. By following these tips, you will be able to maximize the benefits of your homemade body butter.
Best Practices for Application
To maximize the effectiveness of your whitening body butter, follow some best practices during application. Start with clean, dry skin, ensuring no dirt or impurities prevent absorption. Apply the butter in gentle, circular motions, which enhances circulation and aids absorption. Focus on areas that need the most attention, like elbows, knees, and areas with hyperpigmentation. Avoid applying the butter to broken skin or open wounds to prevent potential irritation. For optimal results, apply the butter consistently, ideally once or twice daily. Doing so will provide your skin with the nourishment it needs, enhancing its glow. These practices will not only improve your skin’s health but also make the process more enjoyable.
Potential Side Effects and Precautions
Although whitening body butter is made with natural ingredients, it’s important to be aware of potential side effects and precautions. Some essential oils can cause skin sensitivity or allergic reactions, so it’s recommended to perform a patch test before widespread use. Apply a small amount of the body butter to a discreet area of your skin and wait 24 hours to check for any adverse reactions, such as redness, itching, or irritation. If you experience any of these symptoms, discontinue use immediately. Furthermore, individuals with pre-existing skin conditions or allergies should consult with a dermatologist before use. Always use the product as directed to prevent any complications and ensure the best experience.